Believe it or not, it's that time of the year again. To get you in the festive mood we are sharing this gorgeous Christmas stock tutorial.
This quick and easy to make Christmas stocking tutorial by sewlikemymom.com is one of our favorite.
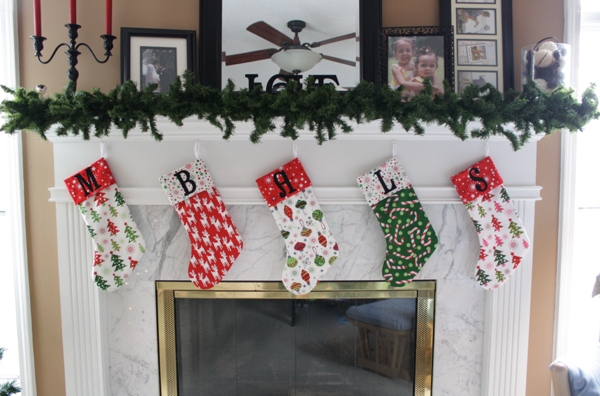
It doesn’t take much to make your own set of personalized stockings! They’re also fast to whip up,
The finished size is 17.5″ long from top of folded cuff to toe, 21.5″ unfolded, and 6.5″ wide.
For each stocking you’ll need:
2 outside pieces
2 lining pieces
2 cuff pieces
1 6″ piece of ribbon
applique (optional)
2 outside pieces
2 lining pieces
2 cuff pieces
1 6″ piece of ribbon
applique (optional)

This is actually a great project for fat quarters! The stockings I made for us came entirely from fat quarters and 4 out of the 5 of these did as well. To make your stockings fairly cheaply, and to have them coordinate instead of match exactly, search for a fat quarter bundle on etsy. It takes 1 FQ for each stocking, and 1 produces 2 cuffs.
First, iron the cuff pieces in half.

Then iron on your applique. For these, I used Pharmacy font and traced it from MS Word at size 550. Put the fold on the bottom and the raw edges on the top before ironing the applique. I know this seems backwards, but trust me, it needs to go on the top half. To center mine when the cuff is down, I placed the letters 3/8″ above the fold.


Then applique around the letter. If you need more help on this, see my applique tutorial and the tutorial on appliqueing curves.

Now decide which way your stockings will hang and with right sides together, sew the cuff piece with the applique to the front stocking piece. When you do this, make sure the applique is facing the foot of the stocking.

Then sew the same lining piece to the other side of the cuff with right sides together.

You’ll have something that looks like this:

Press your seams to the middle.

Repeat with the back pieces.
Lay the front and back together with right sides facing each other, lining up your cuff pieces.

Take the 6″ of ribbon and make it into a loop.

Place it between your lining layers on the BACK side (heel side) of the stocking with the loop on the inside. Line it up right where the lining meets the cuff. Pin in place.

Pin the stocking pieces together. I usually don’t pin things, but I wanted to make sure I kept this looking nice.

To sew them together, I started in the “sole” of the lining. I sew the lining together at 3/8″ seam allowance and when I get to the cuff, I gradually move it over to 1/4″ seam allowance. I do this to make sure the lining fits perfectly inside the stocking when put together and it doesn’t lump or bulge.


Leave a hole a few inches wide along the bottom of the lining to turn the stocking through.

To make sure your curves lay flat, you need to clip them. I cheat and use pinking shears.


Turn the stocking through your hole and iron everything flat.

Sew the hole in the lining closed, stuff the lining into the outer pieces, and you’re done!!


If you’re making more than one, I recommend doing them assembly-line style. It goes faster!

Enjoy!
Check out our ONLINE CATALOGUE for more on our range of fabulous fabrics. While you’re at it why not send us a FRIEND REQUEST on Facebook and FOLLOW US on Twitter. You can also FIND US on Pinterest.
No comments:
Post a Comment